ComfyUI
Warning
Since 8th September 2025, the Pruna Node repo is no longer maintained. As an alternative, we recommend users rely on the Replicate ComfyUI node to access the most efficient models for their workflow.
Pruna integrates with ComfyUI to optimize Diffusers models for faster inference. Four specialized nodes are added: a compilation node for model speed-ups and three distinct caching nodes (adaptive, periodic, and auto), each offering a different strategy to accelerate inference by reusing computations. Tune these nodes for the best balance of speed and quality for your workflow.
Getting Started with Pruna & ComfyUI
In this guide, we’ll walk you through integrating the pruna nodes into ComfyUI to supercharge your Stable Diffusion and Flux workflows. Step by step, you’ll learn how to harness advanced caching and compilation techniques to achieve faster, more efficient image generation. For more details, visit our repository, where you’ll also find performance benchmarks and other helpful resources.
Step 1: Prerequisites
Create a conda environment, e.g. with
conda create -n comfyui_pruna python=3.10
Note that in order to use the caching nodes, pruna_pro is required. After obtaining your token, you should export it as an environment variable:
export PRUNA_TOKEN=<your_token_here>
Step 2: Integrate the Pruna Nodes
To integrate the pruna nodes into ComfyUI, follow these steps:
Navigate to your ComfyUI installation’s custom_nodes folder:
cd <path_to_comfyui>/custom_nodesClone the ComfyUI_pruna repository:
git clone https://github.com/PrunaAI/ComfyUI_pruna.gitLaunch ComfyUI. For example:
cd <path_to_comfyui> && python main.py --disable-cuda-malloc --gpu-only
After completing these steps, you should now see all the Pruna nodes in the nodes menu, under the pruna category.
Usage
Currently, we provide the following nodes:
Pruna Compile: Optimizes inference speed through model compilation. While this technique fully preserves output quality, performance gains can vary depending on the model.
Pruna Cache Adaptive: Dynamically adjusts caching for each prompt by identifying the optimal inference steps to reuse cached outputs.
Pruna Cache Periodic: Caches model outputs at fixed intervals, reusing them in subsequent steps to reduce computation.
Pruna Cache Auto: Automatically determines the optimal caching schedule to achieve a target latency reduction with minimal quality trade-off.
In our repository, we provide several ComfyUI workflows to help you get started. These workflows are based on either Stable Diffusion or Flux.
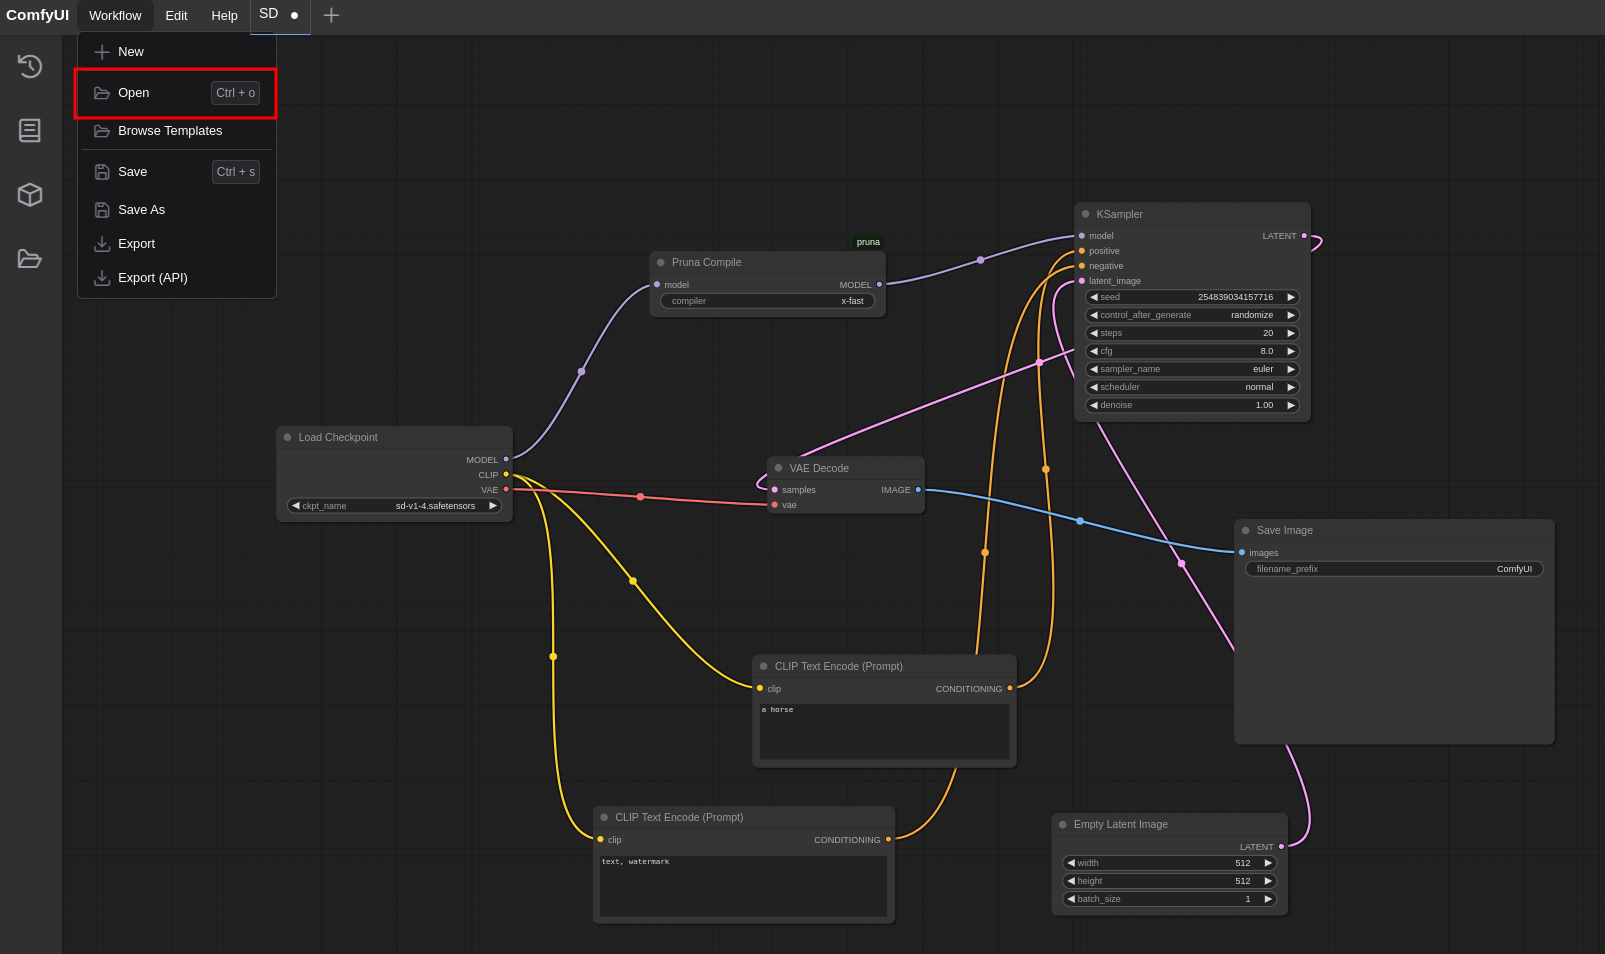
You can load a workflow either by dragging and dropping the provided JSON file into the ComfyUI window, or by clicking Open in the Workflow tab, as shown here.
Example 1: Stable Diffusion
In this example, we will accelerate the inference of the Stable Diffusion v1.4 model.
First, download the model and place it in the appropriate folder:
Download the model
Place it in
<path_to_comfyui>/models/checkpoints
Then, use the Stable Diffusion Auto Caching workflow, as described above, to generate images. Your workflow should resemble this.
Example 2: Flux
To use the Flux workflow, you need to download all the components of the model separately. More specifically:
1. For CLIP, download the clip_l.safetensors
and t5xxl_fp16.safetensors
files, and place them in <path_to_comfyui>/models/clip/.
1. For VAE, download the VAE model
and place it in <path_to_comfyui>/models/vae/.
1. For the Flux model, download the weights
and place them in <path_to_comfyui>/models/diffusion_models/. If you are unable to access the link,
you can request model access on Hugging Face.
Now, you can use the Flux Auto Caching workflow. Our node is directly connected to the Flux model, as shown here.
Enjoy the speed-up!
Wrapping Up
Congratulations! You have successfully integrated the Pruna nodes into ComfyUI.
For any questions, feedback or community discussions, feel free to join our Discord. where you can also get help from our dedicated help-desk channel.
For bug reports or technical issues, please open an issue in our repository.